How to Reupholster a Leather Office Chair?
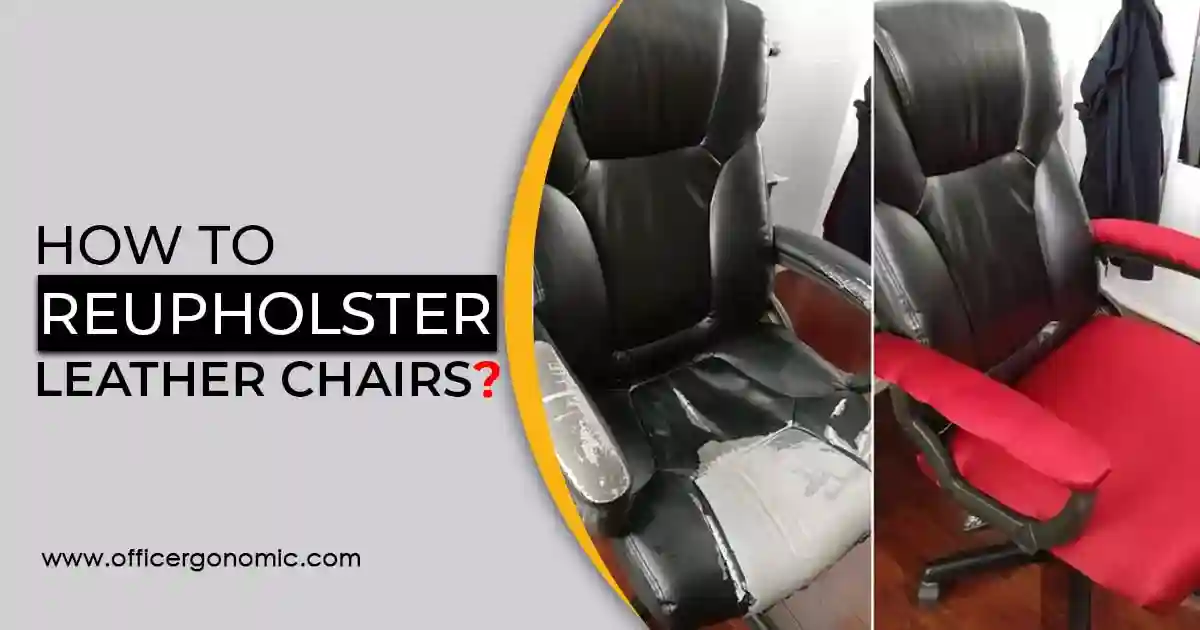
Do you want to see your office leather chair new again without having to buy a new one? Yes, you read it right! There is a way by which you can renovate your existing leather chair to get the feels of a brand-new one and that happens via reupholstering it.
Despite cleaning leather office chairs regularly they often tend to get ripped over time which not only reduces their comfort level but also diminishes their visual appeal. Reupholstering can fix the aesthetics as well as the functionality of old leather chairs. But how to reupholster a leather office chair?
The reupholstering process includes taking off the chair parts one by one, removing the original padding and leather, adjusting any underlying irregularities, and replacing it with fresh leather or cloth over the chair cushions.
From the selection of fabric to skillfully attaching it to the chair, the whole process requires patience, craftsmanship, and a tinge of creativity. Even if this task seems challenging, the sight of a finished chair, in the end, makes the whole process worthwhile.
How to Reupholster a Leather Office Chair?
Reupholstering a leather office chair can prove to be a rewarding job that not only revitalizes and refreshes the office chair but also adds years to its life. The right fabric and perhaps a little patience are all you need. You can easily learn how to reupholster a leather chair with the help of the following guide:
Step 1: Identify whether your chair needs upholstering
The most important preliminary task is to identify whether the chair should be upholstered or not. The answer however is quite simple; if the hardware or wooden structure of the chair is intact and only the upper covering or padding is damaged, the chair can be upholstered. If there are internal damages in the wooden frame due to termites or the plastic frame is expired, then it is better not to upholster such a chair.
Step 2: Select the desired upholstery fabric
Upholstery fabrics are different from the usual fabrics used for clothing or quilting. They need different needles, called upholstering needles, for their sewing and are somewhat more expensive than usual fabrics. Upholstery fabric for chairs can be selected from two main categories: leather or fibrous cloth.
- Fibrous cloth: They include cotton and polyester-based fabrics.
- Leather fabric: It can be real or faux.
Similarly, while selecting the upholstery fabric, another choice also emerges between patterned or no patterned cloth. It should be kept in mind that patterned fabric is difficult to deal with as compared to solid-colored fabric. For a patterned fabric, care is required for cutting, wrapping, and alignment.
Step 3: Get the required tools and materials
You will need the following things:
Step 4: Disassemble the chair arms and wheels
To begin with, remove the wheels and arms (if any) of the chair. If your chair’s armrests are not labeled, take some pictures of them, so you remember how they looked before disassembling. When you reassemble the chair, these pictures will make it easier for you to fit the parts together.

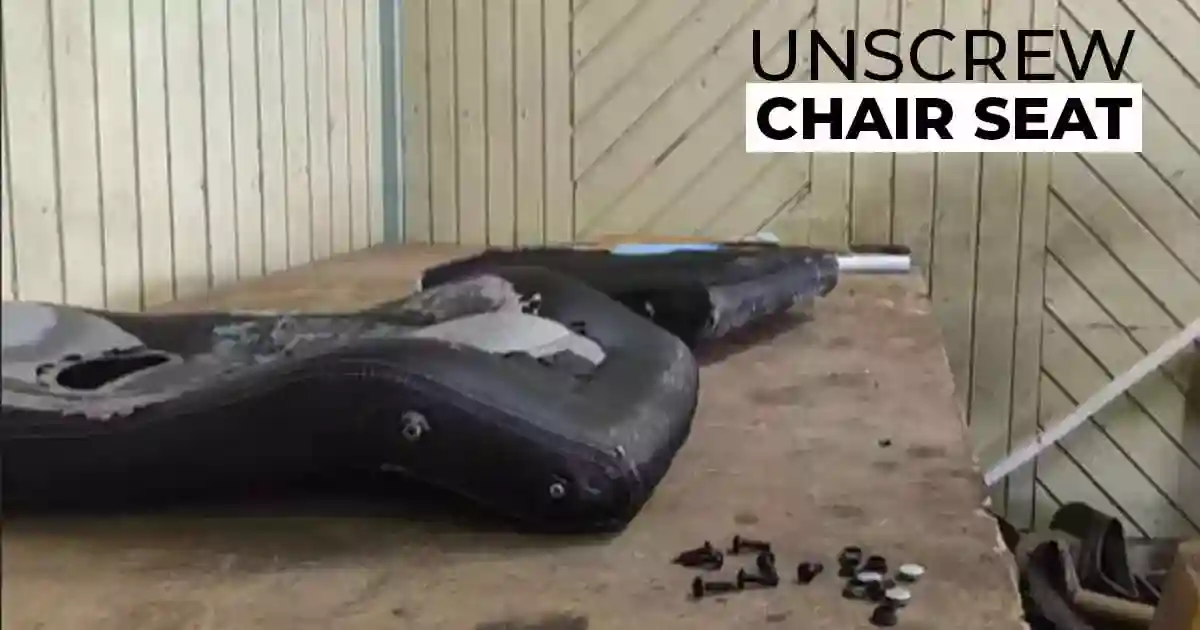
Step 5: Unscrew the chair seat and back
Next, flip the chair over and look for the nuts or bolts connecting the bottom of the chair to the seat. You must unscrew the chair’s base before you can begin reupholstering it. The simplest way to accomplish this is by removing every screw at one time before lifting the base fully off the couch cushion. In the same, remove the backrest as well.
Step 6: Remove the old upholstery
Use a staple remover to remove the staples if any. Some leather chairs can have decorative screw covers which can be removed with the help of nose pliers. Pull all the screws out carefully so that the underneath hardware is not damaged.

Step 7: Check and repair the foaming and hardware structure
Examine the foam and cushioning present beneath the old upholstery. Consider buying fresh foam padding and it is better to replace the damaged or crushed padding. Before continuing, make any necessary structural repairs to the chair if necessary.
Step 8: Cut the new upholstery fabric
Spread the new fabric on a flat surface and place the inverted seat on it. Start with the soft foam layer if you are going to add one. Fold the cloth around the chair completely. Once you have enough, trim the fabric with a pair of scissors. Measurements do not have to be exact; 5-6 inches along the edges of the wooden base would be adequate to cover the seat.
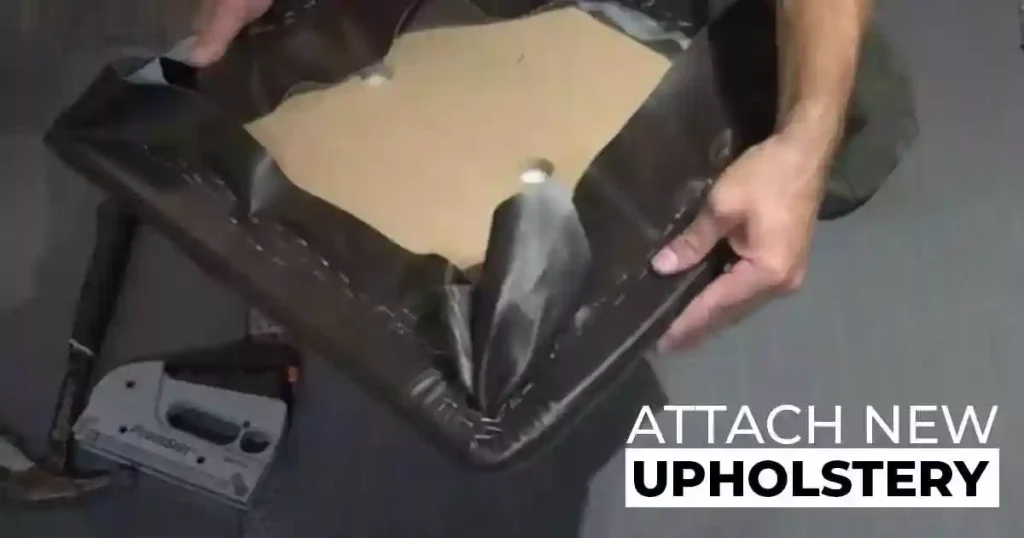
Step 9: Attach the new upholstery to the chair seat
This step will require a lot of patience because the fabric may seem difficult to fasten. If you have upholstery spray glue, spray it at the back of the fabric and press it onto the foam to help hold it in place while stapling.
If you do not have glue, you can use upholstery needles to temporarily stitch at two to three points. Now Staple the fabric to the wood backing that is located behind the foam. Make sure that you do not tug too hard because that will cause the fabric and foam to wrinkle. Use triangular folds to tightly wrap around the corners with the fabric.
If there was a plastic cover, put it back on. Otherwise, staple the backing fabric back on. Leave the set up for some time if you used glue to let it dry. Also, cut down any extra fabric leftovers with scissors.

Step 10: Attach the new upholstery to the chair
The procedure for the back cushion is the same:
- Remove all the staples, take the fabric off the seat, and cut a new fabric piece
- Spray glue it to the cushion, pull the fabric around the cushion, and staple it
- Cut off the excess fabric.
Follow the same procedure to replace the upholstery of armrests or headrests
Step 11: Reconnect the back and seat to the chair
It’s time to use the fasteners you carefully preserved to re-connect the backrest and seat of your chair. If you have to fasten a screw over the fabric, just make a hole with a cutter and you are good to go. Using the screws or fasteners previously removed, reattach the seat and backrest to the chair frame after the fabric is firmly fastened. Make sure everything is fastened and aligned correctly.
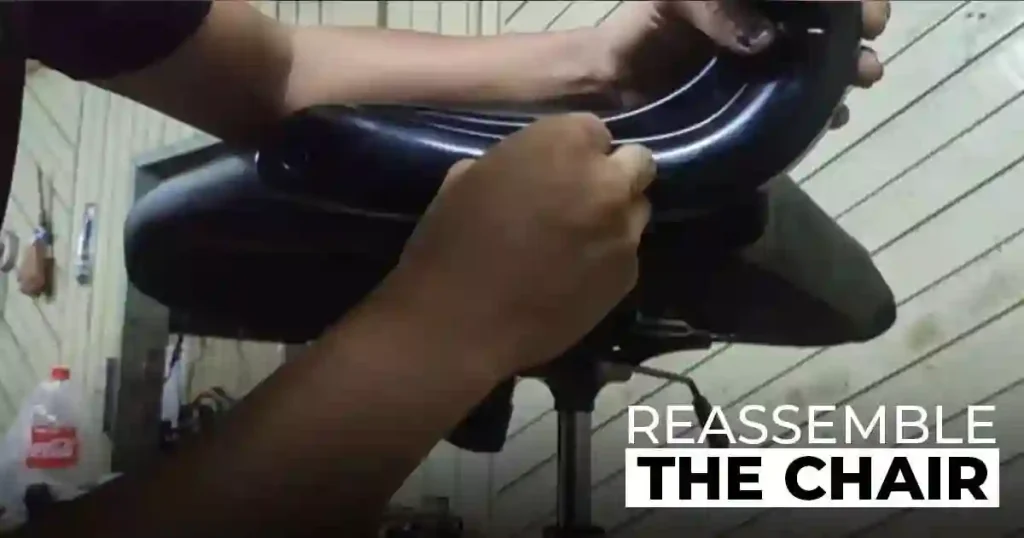
Step 12: Reassemble the chair
Reverse all the initial steps with the help of pictures you took during disassembling. Finally, attach the wheelbase, headrest, and armrests of the chair.

Step 13: Give final touches
Once the chair has been restored to its previous shape, set it down and give it a test drive. Look for any loose parts or angles that may require additional adjustments. Check and see if you can tuck any unsightly fabric wrinkles back into the chair’s seat.
Depending on the form of the chair, you might need to use upholstery adhesive to attach specific fabric parts or sew some pieces of the upholstery together and there it is done.
Bottom Line!
The cost of reupholstering a weary leather chair is always less than buying a new one. So, if you are a DIY enthusiast with an old chair at home or office, and want to get a new chair feeling but seem short on budget, it’s time to unleash your creative skills.
By following the above-mentioned comprehensive guide, one can magically transform an old and weary leather chair into a new one. As long as you follow all the steps diligently, nothing can go wrong. Embrace the challenge, enjoy the process, and see your leather chair in its best possible form.


